
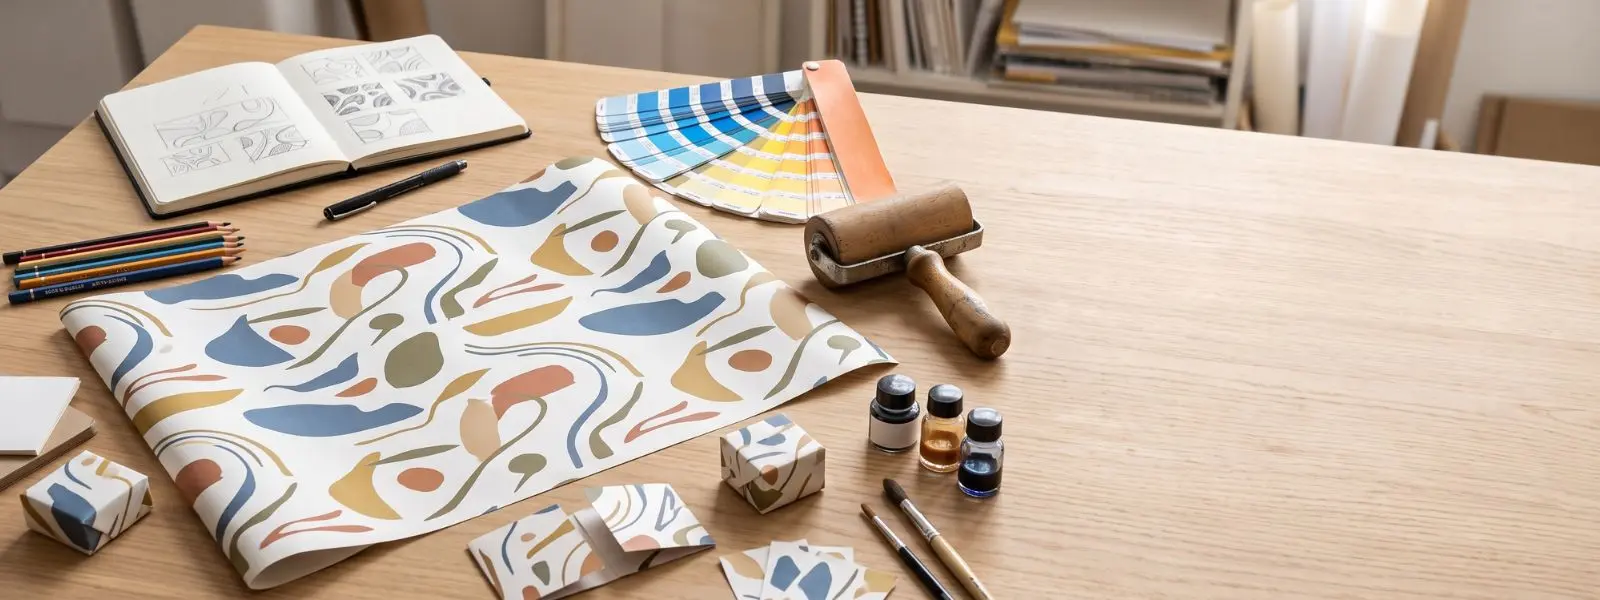
Branded wrapping paper turns every purchase into a walking advertisement for your store — a customer carries your logo out the door and unwraps it at home. Creating it is far simpler than most retailers assume: you design a small repeating tile, prepare the artwork correctly, choose your paper, and approve a proof. The difference between forgettable and memorable is in a handful of design decisions.
To create custom branded wrapping paper, define your purpose and brand look, design a seamless repeating pattern from your logo and brand colours, prepare print-ready CMYK artwork, choose your paper and format, then proof and order. The pattern design is where most of the impact — and most of the mistakes — happen.
The core technique is “step-and-repeat”: you design one small tile, and it repeats seamlessly across the whole sheet or roll. Get the scale and spacing right and it reads as a polished, professional pattern; get it wrong and it looks cluttered or breaks awkwardly at the edges. This guide walks through each step, from brand brief to reorder, with the practical details that keep the result on-brand and print-ready. For the paper and format decision itself, see the sheets vs rolls guide.
How Do You Start Designing Branded Wrapping Paper?
Start by defining the paper’s purpose and the brand look it should convey, because those decisions shape every design choice that follows. A clear brief prevents a design that fights your identity.
First, pin down the purpose: is this everyday retail wrap at the counter, seasonal or holiday packaging, corporate and client gifting, or e-commerce orders that arrive gift-ready? Each has a slightly different tone. Second, match the look to your brand personality and audience — a high-end jewellery store wants elegant and restrained, while a children’s toy shop can go colourful and playful. Third, gather your brand assets: logo, exact brand colours (with their codes), fonts, and any motifs or icons that represent the brand. With purpose, tone, and assets defined, you have the foundation for a pattern that reinforces the store rather than just decorating a box.
How Do You Create a Repeating Wrapping Paper Pattern?
You create a wrapping paper pattern using step-and-repeat: design one small tile and repeat it seamlessly across the sheet, then tune the scale and spacing so it looks intentional. This is the heart of the process.
Begin with a single element — usually your logo, a monogram, or a simple motif — and let it tile across the paper. A common first-draft problem is that the pattern looks too busy: the fix is to shrink the element slightly and add more space between repeats until it feels sophisticated rather than crowded. Set the background to one of your official brand colours to lock in recognition instantly. Pay close attention to the edges of the tile so the pattern flows continuously with no gaps or mismatched breaks where tiles meet — seamless tiling is what separates a professional result from a homemade one.
You have three broad directions:
- Repeated logo — your logo tiled across the paper for direct, unmistakable branding.
- Brand colours only — a pattern or solid in your colours with no overt logo, which many brands find more elegant and still highly recognisable.
- Motif or icon pattern — product-related icons or brand symbols for a distinctive, story-led look.
Minimalism usually wins: a clean, restrained layout with subtle branding reads more premium than a saturated one, and it costs less to print.
How Do You Prepare Print-Ready Artwork?
Prepare artwork as a high-resolution, CMYK file with your logo supplied as a transparent PNG or vector, so the pattern tiles cleanly and prints sharply. File quality directly determines print quality.
Design in professional software such as Adobe Illustrator, or use a printer’s online design studio that handles the tiling for you. Supply your logo as a transparent-background PNG or, better, a vector file at full resolution to avoid pixelation when it repeats. Work in CMYK colour, since that is how the paper prints — and set expectations that a specific Pantone or brand colour may shift slightly once printed, so request a proof if colour accuracy is critical. Add the bleed the printer specifies so the design runs edge-to-edge with no white borders, and keep essential elements safely inside the trim. Clean, correctly built artwork is what lets the printer reproduce your pattern faithfully across the full run.
What Paper, Weight, and Format Should You Choose?
Choose the paper, weight, and format to match your products and brand feel — kraft for a natural look, matte for understated, gloss for premium — in the weight and format that suit how you wrap. This is a quick decision once the design is set.
In brief: kraft paper reads rustic and eco, matte (uncoated) reads understated and modern and bonds well with tape, and gloss (coated) reads shiny and luxurious. Most gift and retail wrap sits around 70–90 GSM for a balance of durability and easy folding, with heavier stock for luxury. Format comes down to sheets versus rolls — sheets for consistent product sizes and premium presentation, rolls for varied sizes and high-volume wrapping. Because this decision has real operational trade-offs, the full breakdown lives in the sheets vs rolls guide; match your choice there to how your store actually packs.
How Do You Proof, Order, and Reorder?
Proof the design against a digital preview, approve it, then order — and save the files so reorders stay perfectly consistent. The proof stage is your last chance to catch errors cheaply.
Before ordering, review the printer’s digital preview to check the pattern’s alignment, spacing, and scale across the full sheet or roll, and proofread everything — spelling, logo placement, and colours. Once it looks right, approve the proof and place the order, confirming minimum order quantity and lead time so you have stock before a busy season. Keep your finalised artwork and the approved specs on file, because brand consistency depends on reordering the exact same design; a store’s wrapping paper should look identical order after order. Reordering from saved files also removes the design work from every future run.
Explore custom wrapping paper, see wrapping paper rolls, and pair with custom tissue paper for a coordinated inner layer.
Design Tips for Branded Wrapping Paper That Works
A few principles separate branded wrapping paper that elevates a store from a design that clutters it. Keep these in mind at every step.
- Stay on-brand — use your exact brand colours, fonts, and logo so the paper is unmistakably yours.
- Favour restraint — a smaller logo with more breathing room looks more premium than a saturated tile.
- Keep it readable — if you include text, use clear, bold type that survives being folded.
- Design for the repeat — choose an element that looks good tiled, and check the seams flow seamlessly.
- Stay consistent — match the wrapping paper to your bags, tissue, and stickers for a cohesive system.
- Preview before you commit — check alignment, resolution, and spelling on the proof, every time.
Done well, branded wrapping paper is one of the most cost-effective marketing surfaces a store owns — it reaches every customer and keeps working long after the sale.