
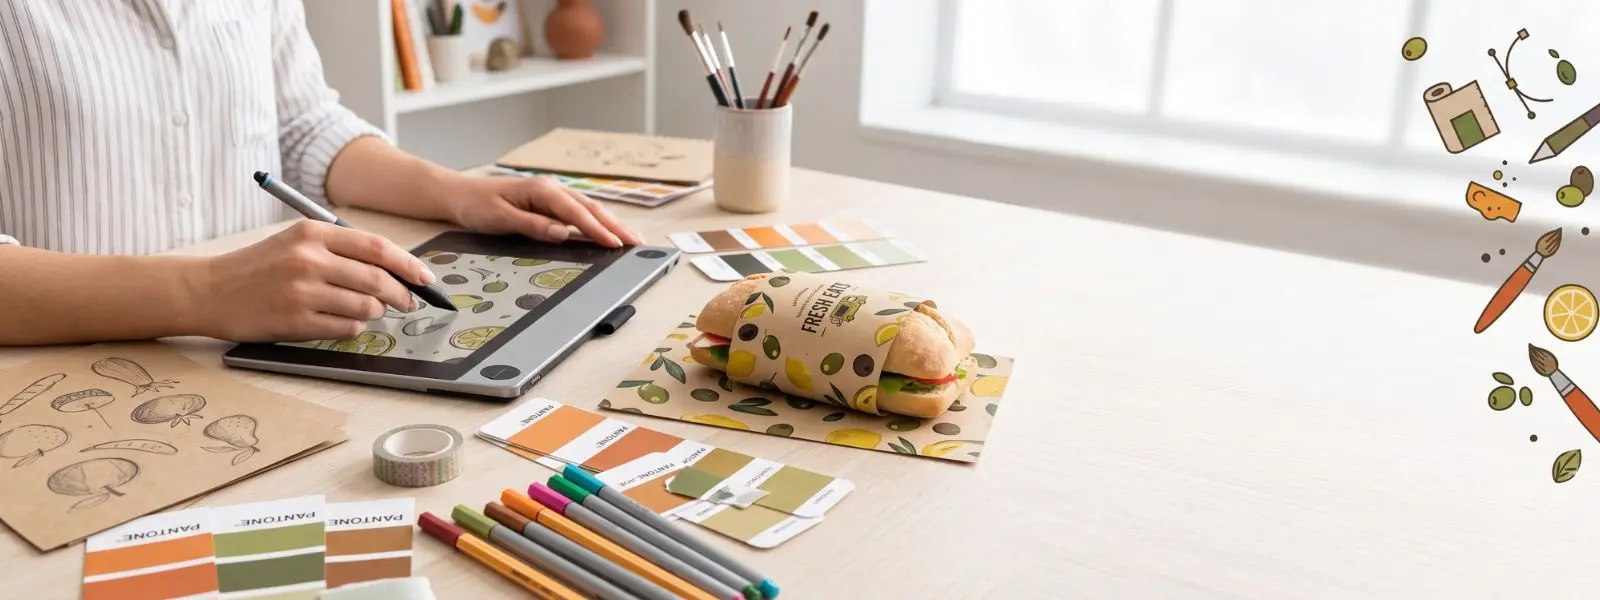
Designing your first custom food paper — the deli sheets, greaseproof wraps, and tray liners your food goes out on — is simpler than it looks, once you know the handful of rules that make food paper different from ordinary printing. It touches food, so food safety leads every decision; it is thin and often small, so simple beats busy; and it goes out on every order, so getting it right pays off thousands of times over. This guide walks a first-timer through the whole process, step by step.
The single rule to keep in mind throughout: food paper is not a poster. The goal is a clean, food-safe, on-brand sheet that performs — not a densely printed showpiece. With that in mind, here is how to design and order your first custom food paper without the common first-timer mistakes.
Step 1: Choose your paper type
Start by picking the paper itself, because the paper decides what your food needs it to do. Match it to the grease level and temperature of your food: greaseproof or deli sheets for oily and saucy items like burgers and fries, kraft for a rustic wrap, and butcher paper for meat. A café wrapping pastries has different needs than a burger joint or a BBQ pit. Decide whether you are wrapping (a sheet that folds around food) or lining (a sheet for baskets and trays), since that affects size and weight. Browse the options in custom food paper, deli paper, and greaseproof paper to see what fits your menu.
Step 2: Decide your print — colors and layout
Next, choose how much to print, and here less is genuinely more. Food paper is most commonly printed in one color, which is clean, economical, and more than enough for a strong logo — though full-color (CMYK) is available if your brand needs it. Then pick a layout: a single centered logo or image, or a repeating pattern of your logo across the whole sheet for an all-over branded look. Most food paper is printed on one side only, so plan for a single-sided design. For your first order, a one- or two-color repeated logo is a reliable, professional choice that keeps costs down.
Step 3: Design for food paper (the rules that matter)
This is where food paper differs most from other printing, so follow its rules rather than treating the sheet like a flyer. Food paper is thin, sometimes translucent, and often small, which means busy, detailed designs look muddled — so focus on one main message, usually your logo, and give it room to breathe with plenty of white space.
The most important food-specific rule is to keep ink coverage light. Heavy, edge-to-edge ink can transfer onto food and costs more to print, so a restrained design with open space is both safer and cheaper. Use a clean, easy-to-read logo, and remember that colors print warmer and slightly muted on natural kraft, so if you need bright, true color, choose a white stock. In short: simple, light, and legible wins on food paper. (For general logo-pattern design mechanics, the wrapping paper design guide covers step-and-repeat in more depth.)
Step 4: Get the food-safe details right
Because the sheet contacts food, confirm the food-safety details before anything else goes to print. Ask your supplier which inks they use: quality custom food paper is printed with food-safe, food-grade inks, but some printing is rated only for the non-food-contact surface — in which case the unprinted side should face the food. Know which applies to your order. Confirm the base paper is food-grade and, in today’s market, PFAS-free, so the sheet is safe and compliant as well as branded. The underlying standard is covered in what is food grade paper. Never let a design decision override a food-safety one.
Step 5: Size it to your food
Pick the sheet size to fit the food it wraps or the vessel it lines, not the other way around. Deli sheets commonly come in 10″ × 10″ and 12″ × 12″, with custom sizes available — a 12″ sheet wraps a standard burger or sandwich cleanly, while basket and tray liners should match your basket dimensions with a little overhang. Too small and the food is exposed or the wrap won’t fold; too large and it bunches. If you are unsure, measure your busiest item (or basket) and match the sheet to it, allowing for the small cutting tolerance most printers quote.
Step 6: Prepare print-ready artwork
Set your artwork up correctly so it prints sharp and on time. Supply your logo as a vector file (AI or PDF) rather than a low-resolution image, so it stays crisp at any size, and build the design in CMYK color mode at 300 dpi. Add the bleed your printer specifies — commonly about 0.125″ on each side — so the design can run cleanly to the edge, and make sure the artwork size matches the sheet size to avoid mis-scaling. Clean, correctly built files are what keep a first order from getting delayed or printing blurry.
Step 7: Sample, proof, and order
Before committing to a full run, get a proof — and ideally a physical sample. A digital proof lets you check layout and spelling, but a printed sample shows the true color on your actual paper, the real ink coverage, and how the design sits on the sheet, so you can fix issues before you have thousands of copies. Approve the proof only when it looks right, then place your order; at Custom Printed Papers, minimum orders start at just 50 sheets. Once approved, save your files so reorders stay identical.
Common first-timer mistakes to avoid
Most first orders go wrong in the same few ways, and all of them are easy to sidestep:
- Overloading the design — too much detail or text turns muddy on thin food paper. Lead with one message.
- Heavy ink coverage — risks transfer onto food and raises cost. Keep it light and open.
- Skipping the food-safe check — confirm food-safe inks and which side faces food before printing.
- Using a low-resolution logo — always supply vector artwork so it prints sharp.
- Guessing the size — measure your actual food or basket instead of picking a size blind.
- Not ordering a sample — a small test print prevents an expensive full-run mistake.
Avoid these six and your first custom food paper will look professional, stay food-safe, and put your brand in every customer’s hands. Explore custom food paper and deli paper to begin, and request a proof before your run.